Project 5: Silver Salmon Derby
January 30, 2013  Comments(0)
Comments(0)
New Call for Art from the Community! $200 Prize, Fame, Glory: The chosen design may be reproduced on t-shirts, sweatshirts, hats, pins, and/or poster.
DESIGN THE LOGO FOR:
2013 Seward Silver Salmon Derby
Their Rules:
The design must include:
- Seward Silver Salmon Derby
- August 10 – 18, 2013
- 59th Annual
- Seward, Alaska
- Prefer a salmon or fishing design
Design must fit on 8 1/2 x 11 inch paper and have four color maximum.
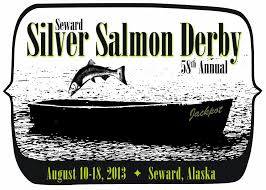
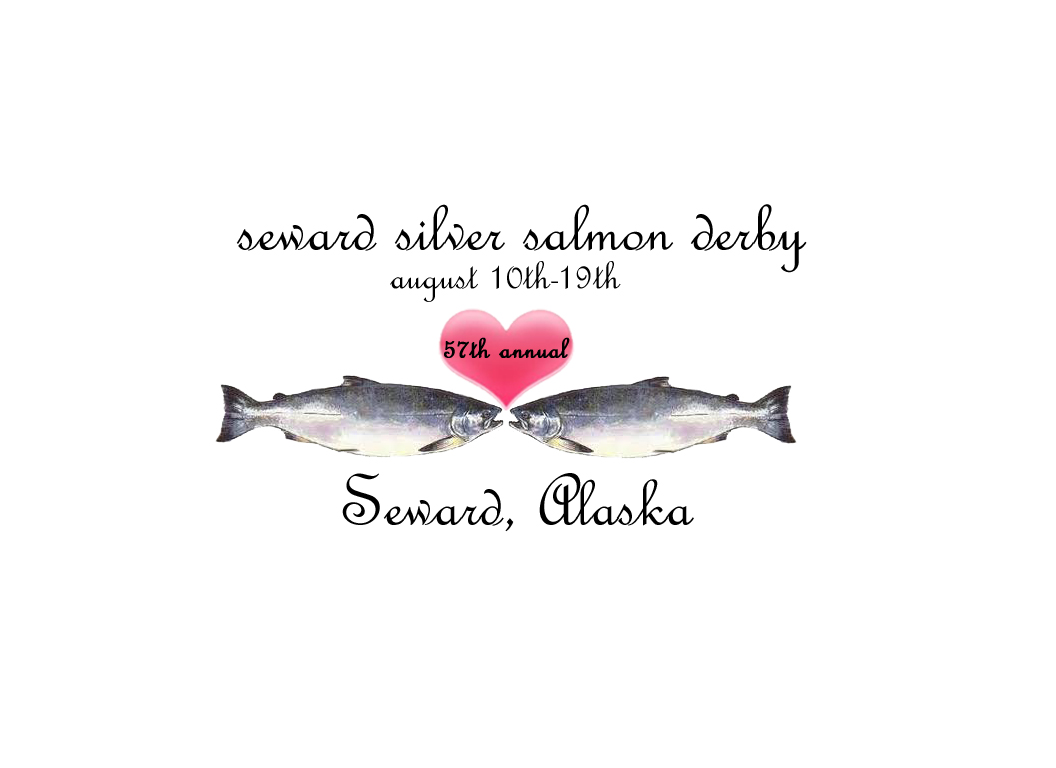
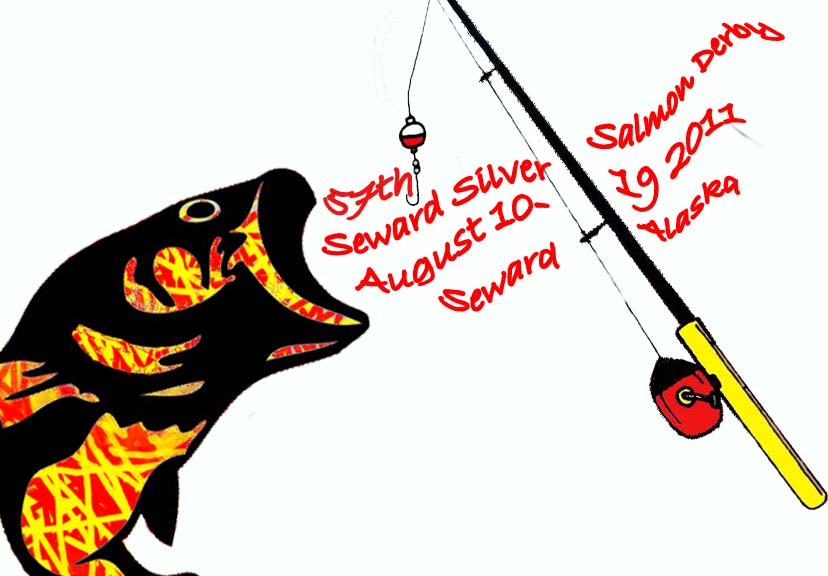
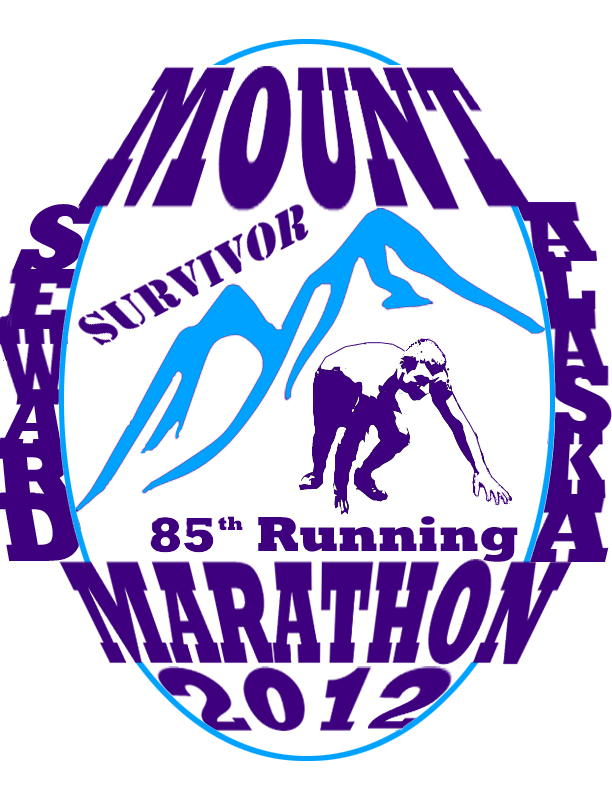
My Thoughts: Be creative and think outside of the box! Here are the last 4 years designs:
2103
2012

2011
2010
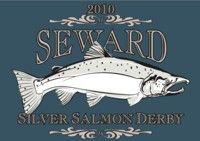
2010
2011 and 2010 look almost the same! How could you create a silver salmon in a different way, different angle, etc? Apply the skills you learned when working on other projects. Good luck and make something cool…win that money!
Here are some designs from students last year:
Audra Atwood
![]()
Gabe Esposito
Kiana Clemens


